 |
 |
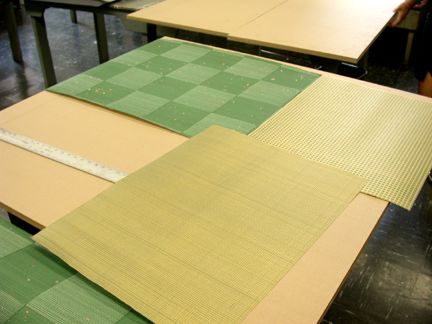
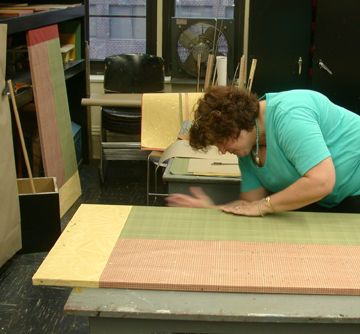
Sheets of painted papers were laid out and decisions were made as to how they would be placed on the pairs of panel sides.
|
|
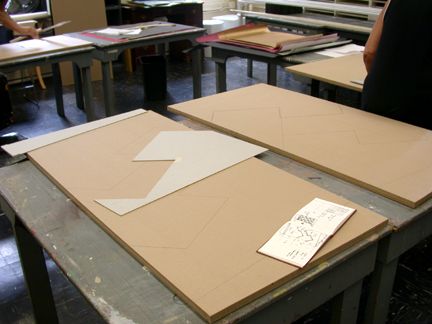
Some designs had been planned and templates had been made to ease the drawing on the panels. Once the designs were drawn on the panels, the decorative papers could be cut to fill the pattern.
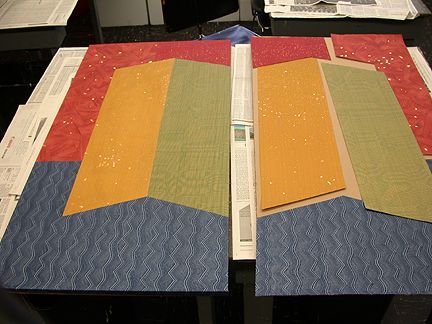
When the decorative papers have been cut, they are laid out on the panels to get an idea of what the panels will look like.
 |
 |
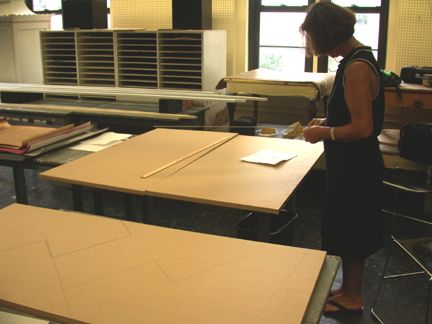
The framing on the table in the back of the room has also been primed and will be painted black tomorrow.
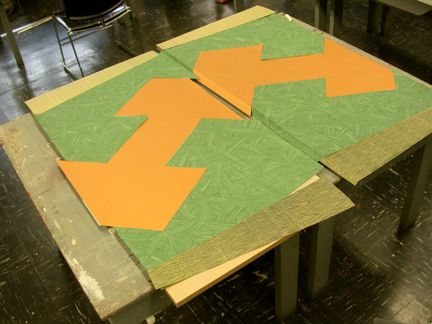
Each of the pieces of paper are pasted out with a brush and wheat paste, just like wall paper. Then each piece is put into place and rubbed down onto the panel.
The decorative paper pieces are attached to the left panel and those on the right panel will be pasted next.
When the panels are finished they are stood up to dry. The top paper on the panel will stretch and appear loose after the decorative surface is attached but will tighten up again as the paste dries.
